
30
May
Benefits of an Eggless Diet
Categories:
Uncategorized
Modified from the Source : https://www.fnp.com/blog/benefits-of-an-eggless-diet

[Photograph: Vicky Wasik]
Benefits of an Eggless Diet
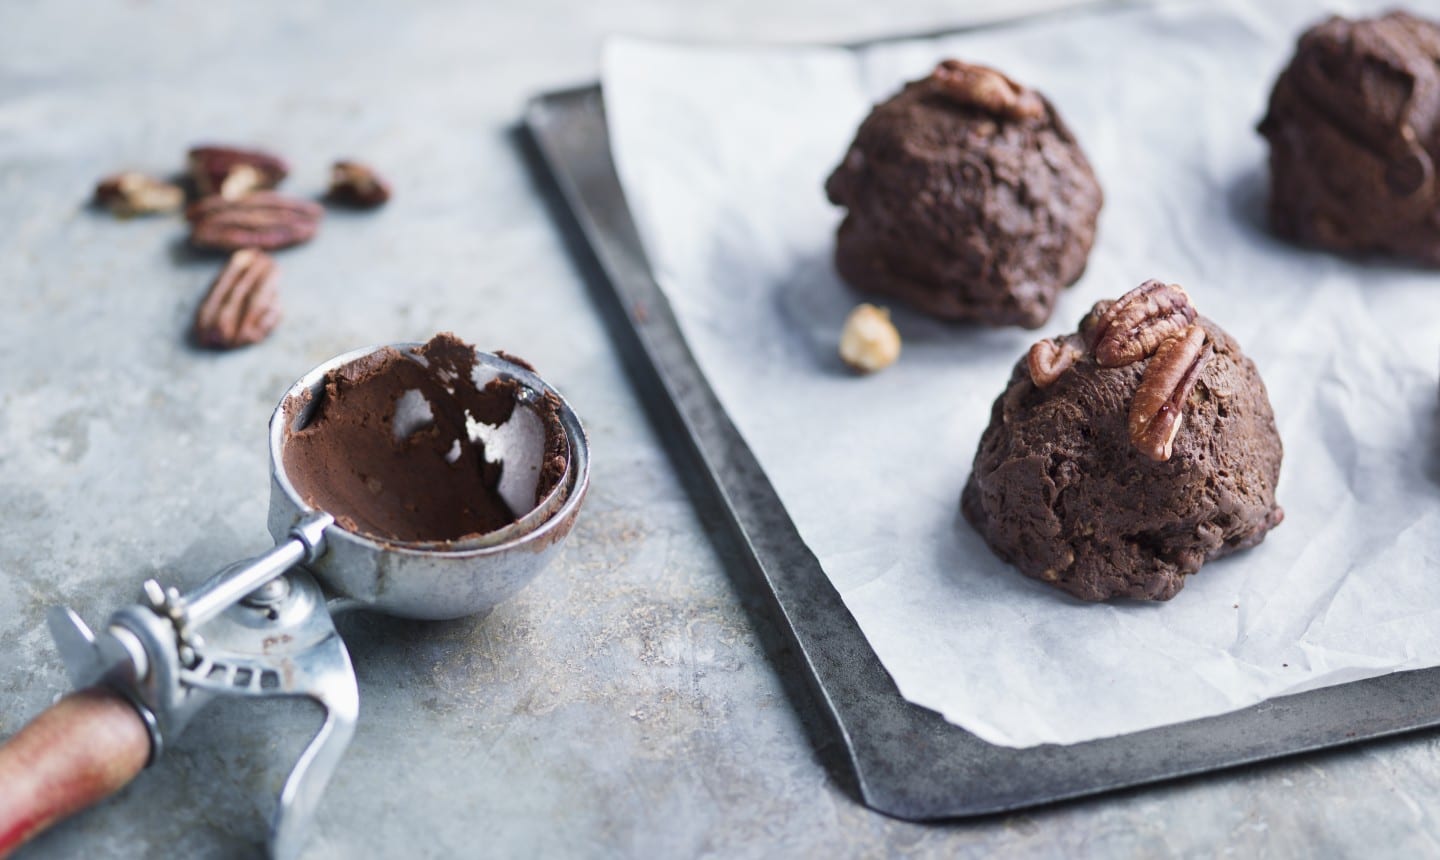
Eggless recipes are those food items that have been cooked with an egg substitute or no egg at all. Although eggs are high in protein, many people shy away from eating eggs and prefer to consume eggless food instead. People who are Vegetarians or vegans for religious purposes or health try to eat food which is free of egg. Allergic reactions to eggs are quite common while older people suffer from hypertension and heart disease which is enhanced by cholesterol contained in eggs. They are often advised to eat eggless food products.
History- Eggless recipes have been around for a long time almost since the beginning of civilization. Some ancient communities practiced vegetarianism as part of their religious practices and shunned eggs completely. The health benefits of consuming eggless foods became apparent in the 18th and 19th centuries when the cooking of eggless recipes became popular. A number of recent converts who avoid eating eggs do so because of cruelty to animals.
Eggless recipes do not contain eggs in any form at all, be it fresh or powdered. Some people do confine themselves to avoiding the yolk of the egg only, while others will not eat it at all. Gelatin, arrowroot and banana is used as a substitute to bake cakes. Tofu is one of the most common substitutes used by eggless recipes. Potato starch, corn starch and soy powder is used as binding in lieu of eggs.Health benefits of eggless recipes “Allergy to eggs are the second most common allergy found in children. It is best to stop eating eggs completely and opt for a vegetarian eggless fare. You can use egg substitutes only if you know that you are not allergic to them and with the consent of your doctor. Egg yolks contain high levels of cholesterol which leads to arteriosclerosis and heart disease in the elderly. People who suffer from hypertension also need to eliminate eggs from their diet in order to lead a normal life. Salmonella contaminated eggs pose a major health scare especially in developing countries where the food laws are not very stringent. It might be safer to avoid eggs completely.
Being a vegan is definitely more a life style choice than a philosophy. Eating animal fats and proteins has been found by research to raise one’s risk of cancer, heart disease, hypertension and rheumatoid arthritis. With many people embracing veganism because of religious or lifestyle reasons the eggless cake is becoming increasingly popular.
[ ... ] 

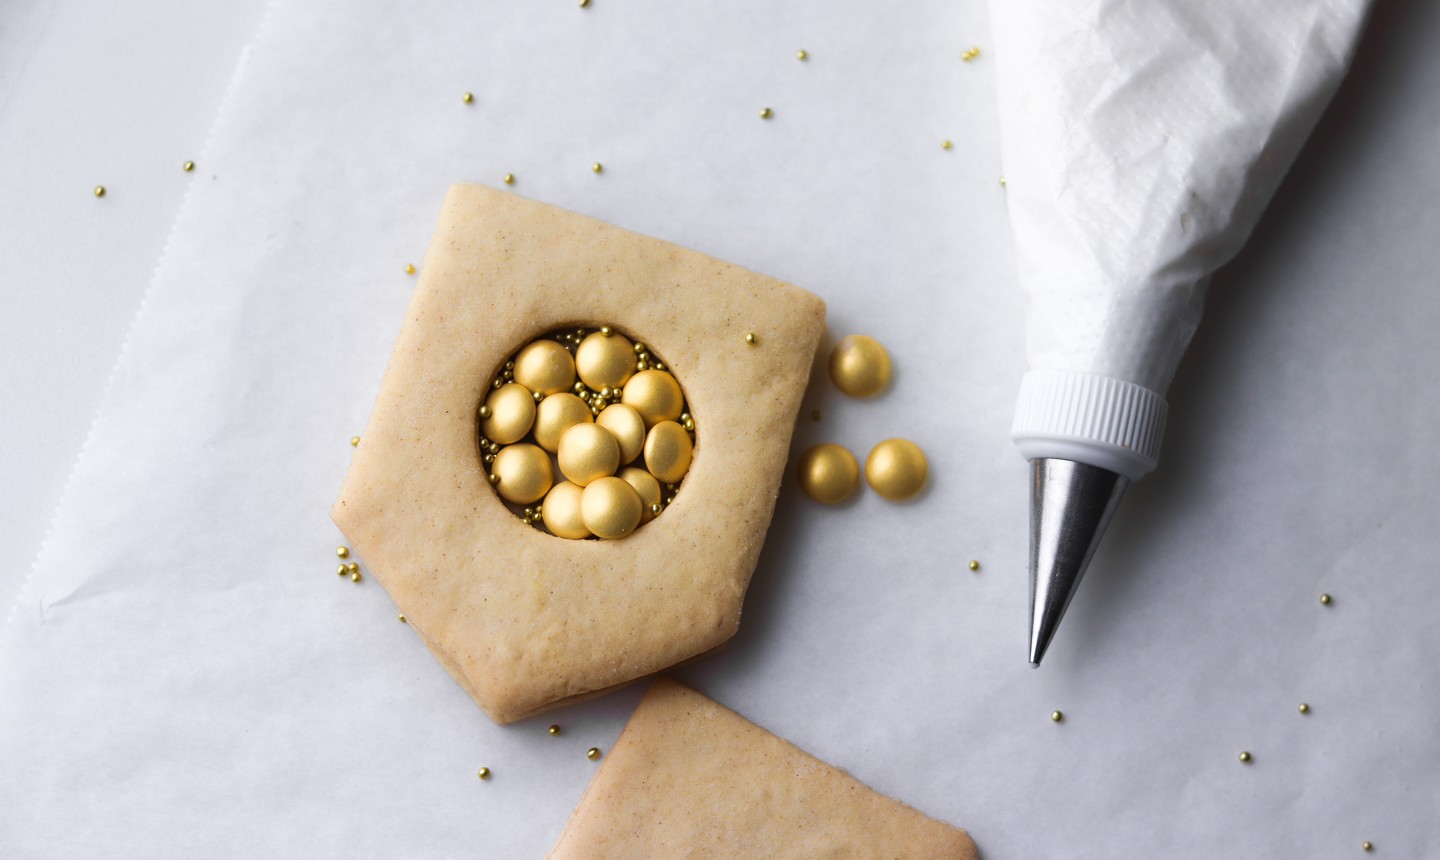


 HOW TO MAKE MARBLED COOKIE DOUGH
What you need:
• Your go-to plain cookie dough
• Rolling pin
• Gel or paste food coloring
• Cookie cutters (any shape!)
• Flour for dusting
• Cookie baking tray
• Silicone baking mat
Step 1:
HOW TO MAKE MARBLED COOKIE DOUGH
What you need:
• Your go-to plain cookie dough
• Rolling pin
• Gel or paste food coloring
• Cookie cutters (any shape!)
• Flour for dusting
• Cookie baking tray
• Silicone baking mat
Step 1:
 Once your plain cookie dough has chilled according to your recipe, it’s ready to work with. Section your dough into a 1/3 portion (which you’ll tint another color) and a 2/3 portion (which you’ll leave plain). This ratio gives you the best color results!
Step 2:
Once your plain cookie dough has chilled according to your recipe, it’s ready to work with. Section your dough into a 1/3 portion (which you’ll tint another color) and a 2/3 portion (which you’ll leave plain). This ratio gives you the best color results!
Step 2:
 Color the smaller portion of dough, using your gel or paste food coloring. Aim for a nice contrast between the tinted dough and the plain dough.
Put all your dough back in the fridge for around 15 minutes. Adding color will heat the dough up, and it’s important that it stays nice and chilled.
Step 3:
It’s tempting to make marbled cookies the same way you’d make
Color the smaller portion of dough, using your gel or paste food coloring. Aim for a nice contrast between the tinted dough and the plain dough.
Put all your dough back in the fridge for around 15 minutes. Adding color will heat the dough up, and it’s important that it stays nice and chilled.
Step 3:
It’s tempting to make marbled cookies the same way you’d make  Remove both pieces of dough from the fridge. Rip the colored dough into small pieces. Press the colored pieces at random around your plain, uncolored dough.
 Start the marbling process by roughly mixing and kneading the dough. Usually when you’re mixing color, you want it to be fully incorporated and even — but that’s not the case with marbling!
 Continue gently mixing and kneading until you see streaks of color throughout the dough. Don’t over-mix it!
Step 4:
Continue gently mixing and kneading until you see streaks of color throughout the dough. Don’t over-mix it!
Step 4:
 Now dust your rolling pin and surface with flour. Carefully roll out the cookie dough. Fun, marbled streaks of color should start to stretch out into the dough!
Step 5:
Now dust your rolling pin and surface with flour. Carefully roll out the cookie dough. Fun, marbled streaks of color should start to stretch out into the dough!
Step 5:
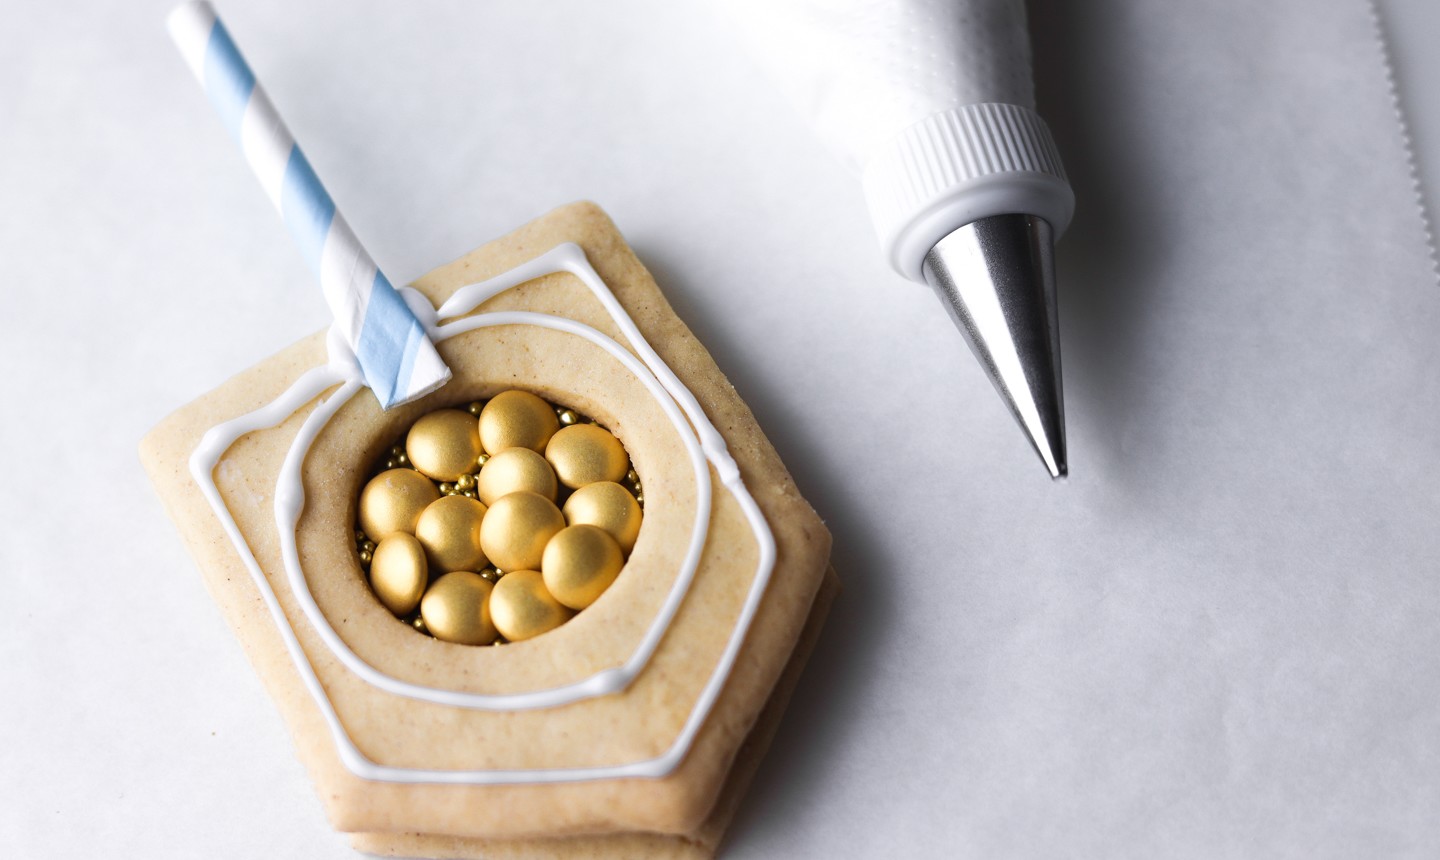
 Cut whatever shapes you like. You can even try to position the cutters so you get the best marbled look in every cookie. Chill the cut-out cookies and bake according to your recipe.


 TO HELP TAKE THE STRESS OUT OF LARGE ORDERS, WE’RE SHARING A FEW OF OUR MOST HELPFUL COOKIE STORAGE DOS AND DON’TS.
1. Freeze pre-cut shapes
When planning large orders in advance, you can make your dough, pre-cut the shapes and freeze them before baking. Just stack your cut cookies with a piece of waxed or parchment paper between each and pop them in the freezer. Once frozen, wrap each stack of cookies with cling film and then put them back in the freezer to save space.
Remember to label every stack with the flavor, date made and order details. Your frozen cookies will keep for around 3 months.
When you need them, remove from the freezer and place on trays (without the slip of greaseproof paper) and bake straight away.
2. Bake frozen cookie dough
TO HELP TAKE THE STRESS OUT OF LARGE ORDERS, WE’RE SHARING A FEW OF OUR MOST HELPFUL COOKIE STORAGE DOS AND DON’TS.
1. Freeze pre-cut shapes
When planning large orders in advance, you can make your dough, pre-cut the shapes and freeze them before baking. Just stack your cut cookies with a piece of waxed or parchment paper between each and pop them in the freezer. Once frozen, wrap each stack of cookies with cling film and then put them back in the freezer to save space.
Remember to label every stack with the flavor, date made and order details. Your frozen cookies will keep for around 3 months.
When you need them, remove from the freezer and place on trays (without the slip of greaseproof paper) and bake straight away.
2. Bake frozen cookie dough
 If you’ve pre-mixed and frozen your dough, thaw it out by leaving it in a refrigerator for a couple of hours. Then you can roll, cut, chill and bake! Re-freezing the dough will lessen the taste and quality so we wouldn’t recommend putting your dough back in the freezer afterward. To help cut down on waste, why not separate your cookie dough into small balls right after making it?
Tip: We don’t recommend freezing or chilling finished decorated cookies. Water spots can develop on your work, colors can change and water can even eat through your royal icing.
3. Use stackable trays and cooling racks
If you’ve pre-mixed and frozen your dough, thaw it out by leaving it in a refrigerator for a couple of hours. Then you can roll, cut, chill and bake! Re-freezing the dough will lessen the taste and quality so we wouldn’t recommend putting your dough back in the freezer afterward. To help cut down on waste, why not separate your cookie dough into small balls right after making it?
Tip: We don’t recommend freezing or chilling finished decorated cookies. Water spots can develop on your work, colors can change and water can even eat through your royal icing.
3. Use stackable trays and cooling racks
 Humidity is not a friend to anything sugar-related. Sugar soaks up moisture in the atmosphere around it. This means that any humidity can lead to tacky, soft or wet-looking treats. Icing can develop a sweaty appearance, break down or end up with unattractive blotches.
If you live in a humid environment or have to deal with wet weather, we recommend getting a dehumidifier. We live on a consistently rainy island (U.K.) and right next to a river. When we work on icing cookies (and sugar flowers) we make sure all the windows in our workroom are shut and we crank up our dehumidifier! You can also turn the heat up a little, which tends to dry out the air indoors.
5. Package cookies in cellophane bags
Humidity is not a friend to anything sugar-related. Sugar soaks up moisture in the atmosphere around it. This means that any humidity can lead to tacky, soft or wet-looking treats. Icing can develop a sweaty appearance, break down or end up with unattractive blotches.
If you live in a humid environment or have to deal with wet weather, we recommend getting a dehumidifier. We live on a consistently rainy island (U.K.) and right next to a river. When we work on icing cookies (and sugar flowers) we make sure all the windows in our workroom are shut and we crank up our dehumidifier! You can also turn the heat up a little, which tends to dry out the air indoors.
5. Package cookies in cellophane bags
 One of the best and most cost-effective packaging solutions for cookies are cellophane bags! We’ve had no problem simply hand tying these (even for larger events). However, for a little extra security, you can lightly seal your bags using a laminator to help make them airtight. You can also bunch up your cellophane and press the center with your laminator before then tying the gather with a pretty bow.
6. Store cookie decorated in advance in airtight containers
One of the best and most cost-effective packaging solutions for cookies are cellophane bags! We’ve had no problem simply hand tying these (even for larger events). However, for a little extra security, you can lightly seal your bags using a laminator to help make them airtight. You can also bunch up your cellophane and press the center with your laminator before then tying the gather with a pretty bow.
6. Store cookie decorated in advance in airtight containers
 Decorated cookies will keep in an airtight container for up to one week. You don’t want to work too much farther in advance, though.
To store your decorated cookies, place the cookies right side up in one flat layer in your container. Then, place a sheet of waxed paper or parchment paper over the cookies before placing another layer of cookies in the container. This helps avoid dents, mark or chips.
Make sure you use good quality airtight containers! Cheap ones can still let in moisture, which will ruin your cookies. Once boxed up, keep in a cool dark spot like a cabinet or cupboard. Storing your cookies near any light source can fade or warp your colors. [ ... ]
Decorated cookies will keep in an airtight container for up to one week. You don’t want to work too much farther in advance, though.
To store your decorated cookies, place the cookies right side up in one flat layer in your container. Then, place a sheet of waxed paper or parchment paper over the cookies before placing another layer of cookies in the container. This helps avoid dents, mark or chips.
Make sure you use good quality airtight containers! Cheap ones can still let in moisture, which will ruin your cookies. Once boxed up, keep in a cool dark spot like a cabinet or cupboard. Storing your cookies near any light source can fade or warp your colors. [ ... ] 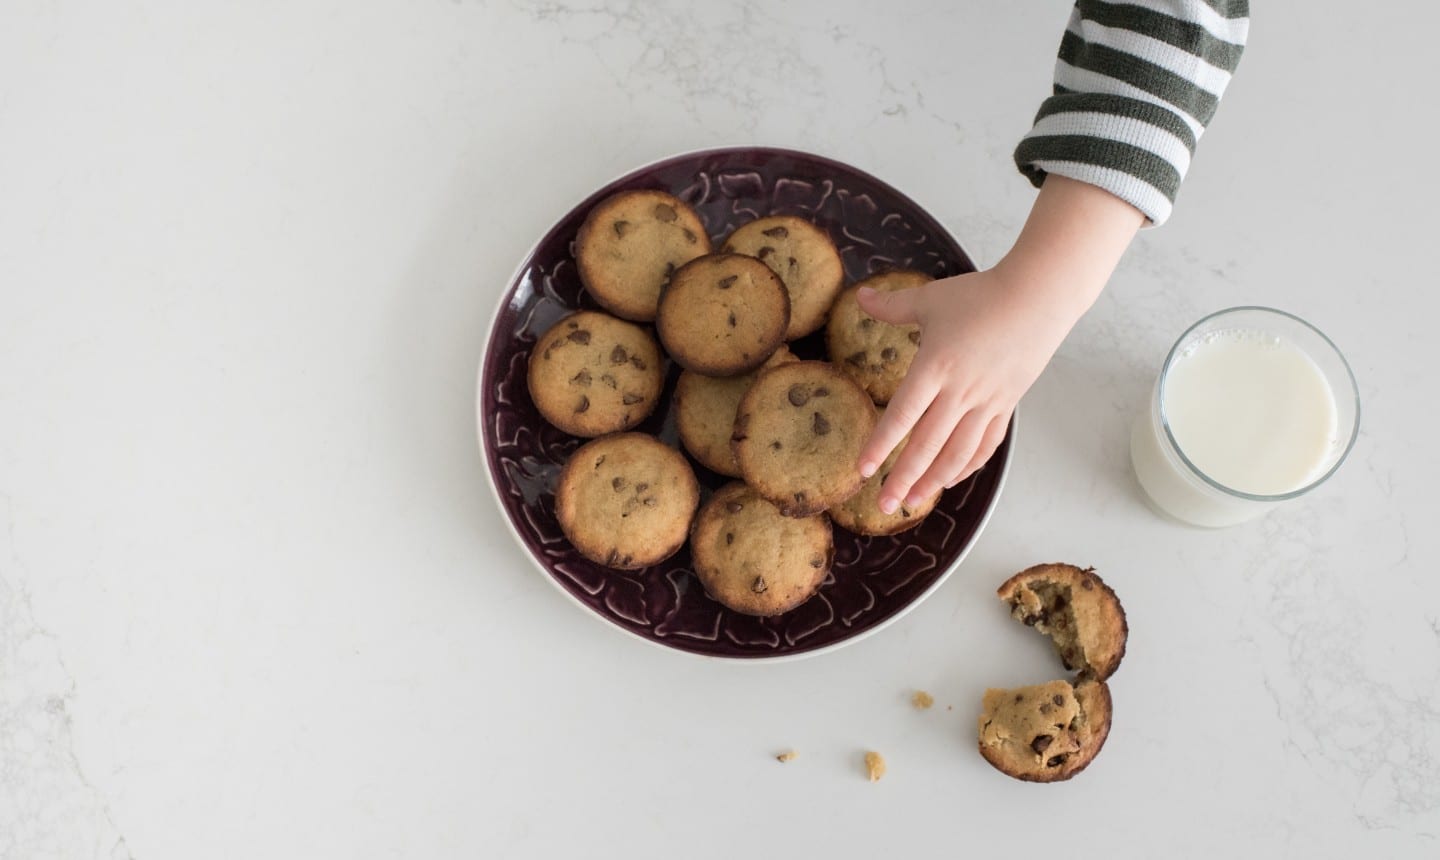
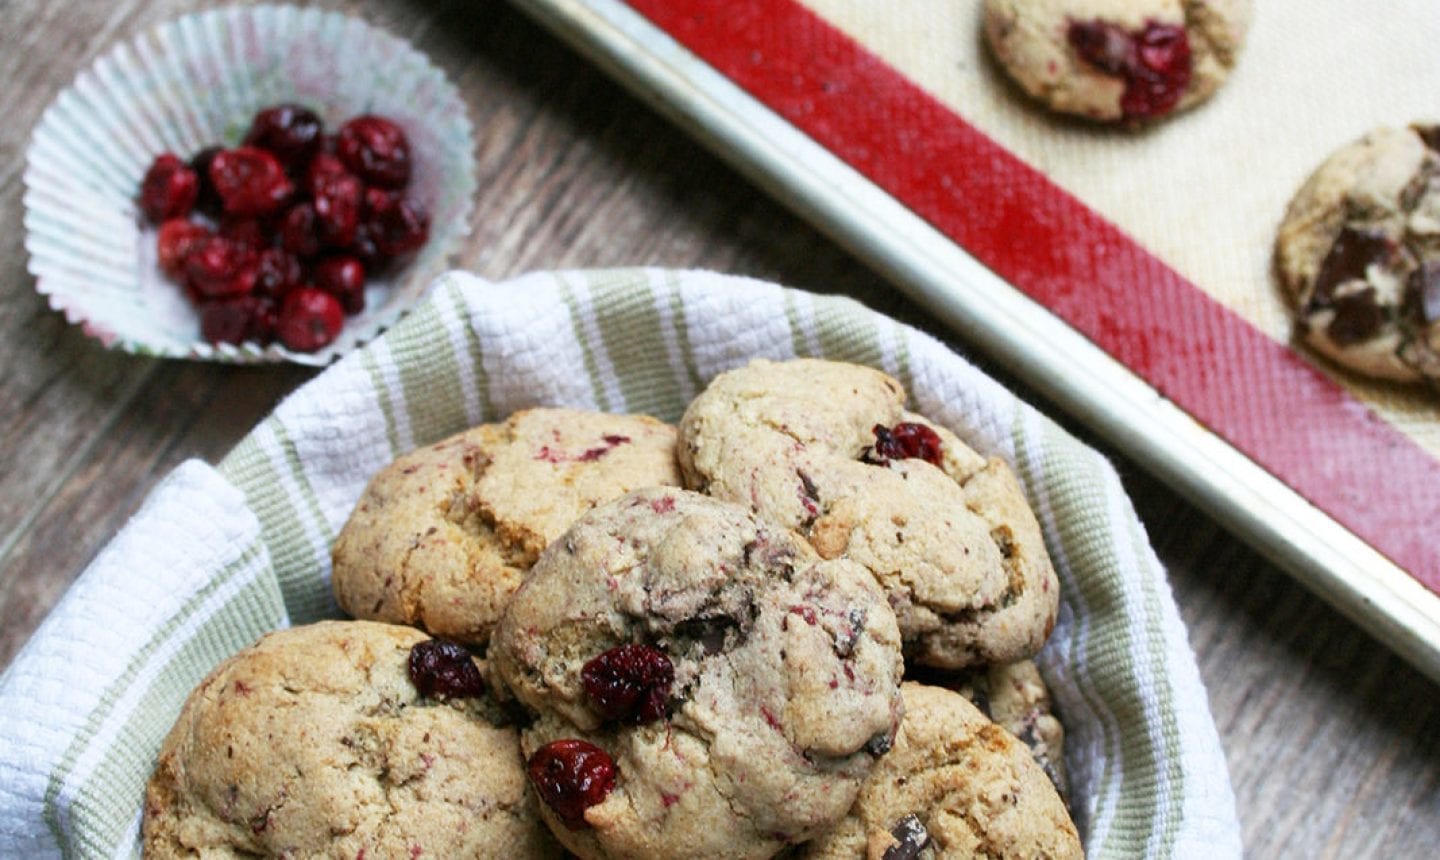 Airtight is right for soft cookies!
Drop cookies and the like should be kept in an airtight container, either in a single layer for iced or decorated cookies, or in layers separated by a sheet of parchment paper for cookies with no icing.
Here's a fun trick: Tuck a half slice of white bread in the container with the cookies. The cookies will absorb moisture from the bread, keeping them moist and soft. Nifty!
Be careful about storing different types of cookies together because they can absorb each other's flavors. Sometimes this won't matter much (say, with regular shortbread and browned-butter shortbread). But if you store peppermint cookies with pumpkin cookies, the results could be... unusual.
Let crispy cookies breathe.
For gingersnaps, wafer cookies and others where your goal is to retain crunch, use a container that lets some air in. A traditional cookie jar with a loose lid works, and so does an airtight container with the lid not totally sealed. Or try a bag with small holes.
Airtight is right for soft cookies!
Drop cookies and the like should be kept in an airtight container, either in a single layer for iced or decorated cookies, or in layers separated by a sheet of parchment paper for cookies with no icing.
Here's a fun trick: Tuck a half slice of white bread in the container with the cookies. The cookies will absorb moisture from the bread, keeping them moist and soft. Nifty!
Be careful about storing different types of cookies together because they can absorb each other's flavors. Sometimes this won't matter much (say, with regular shortbread and browned-butter shortbread). But if you store peppermint cookies with pumpkin cookies, the results could be... unusual.
Let crispy cookies breathe.
For gingersnaps, wafer cookies and others where your goal is to retain crunch, use a container that lets some air in. A traditional cookie jar with a loose lid works, and so does an airtight container with the lid not totally sealed. Or try a bag with small holes.
 [ ... ]


 What do you expect from your bridesmaids? Do you want them
to just show up to support you on your wedding day, or do you want
them to be there with you throughout all the decision making
and to-dos, like addressing wedding invitations and filling up
welcome bags for out-of-town guests? Either way, let your bridesmaids
know what you expect of them, so you don't end up frustrated with
a friend who doesn't understand (or didn't know) what you wanted
them to do in the first place.
What do you expect from your bridesmaids? Do you want them
to just show up to support you on your wedding day, or do you want
them to be there with you throughout all the decision making
and to-dos, like addressing wedding invitations and filling up
welcome bags for out-of-town guests? Either way, let your bridesmaids
know what you expect of them, so you don't end up frustrated with
a friend who doesn't understand (or didn't know) what you wanted
them to do in the first place. The only thing worse than a coworker who thinks she's invited to your
wedding is a friend who assumes she's going to be a bridesmaid. Let it be
known whom you've chosen so neither you nor your bridesmaids feel
awkward about it around non-bridal-party members. Don’t be afraid of
hurting someone's feelings -- as cliche as it sounds, any true friend will
understand whatever decision you make.
The only thing worse than a coworker who thinks she's invited to your
wedding is a friend who assumes she's going to be a bridesmaid. Let it be
known whom you've chosen so neither you nor your bridesmaids feel
awkward about it around non-bridal-party members. Don’t be afraid of
hurting someone's feelings -- as cliche as it sounds, any true friend will
understand whatever decision you make. Try not to make hasty assumptions. Don't write off some friends simply
because you think they don't have enough money to afford that Vera Wang
bridesmaid dress you have your eye on. While it’s important to recognize
your friends’ financial situations, they want you to be happy on your
wedding day (just like you would of them), so don't be shy about opening
up the conversation and letting them know what you’re envisioning (and
then you can come to a money compromise that works for both of you!).
Try not to make hasty assumptions. Don't write off some friends simply
because you think they don't have enough money to afford that Vera Wang
bridesmaid dress you have your eye on. While it’s important to recognize
your friends’ financial situations, they want you to be happy on your
wedding day (just like you would of them), so don't be shy about opening
up the conversation and letting them know what you’re envisioning (and
then you can come to a money compromise that works for both of you!). As you're allocating responsibilities, be mindful of their personal
lives -- your friend who's trying to make partner at her law firm
or who's dealing with a new baby may not have time to assist you
with every little task. At the same time, you don't want to cause
tension within the wedding party if some girls feel the others aren't
pulling their weight. Try to keep a good balance, and remind
yourself that there are others who can help out: You've got your
parents, other family members and your fiance. Plenty of people
are willing to pitch in, so take advantage of it as you need to.
As you're allocating responsibilities, be mindful of their personal
lives -- your friend who's trying to make partner at her law firm
or who's dealing with a new baby may not have time to assist you
with every little task. At the same time, you don't want to cause
tension within the wedding party if some girls feel the others aren't
pulling their weight. Try to keep a good balance, and remind
yourself that there are others who can help out: You've got your
parents, other family members and your fiance. Plenty of people
are willing to pitch in, so take advantage of it as you need to. If you know one of them would be uncomfortable in the dress you
envision, come up with a compromise. Not sure one dress will work
for all your girls? Make some guidelines (say, a color and length you like)
and then let them choose the exact style. Trust us—even with different
necklines or sashes, they'll still look fantastic. Remember: You want each
and every one of your bridesmaids to feel beautiful (and comfortable!),
so your efforts in the dress department are well worth it.
If you know one of them would be uncomfortable in the dress you
envision, come up with a compromise. Not sure one dress will work
for all your girls? Make some guidelines (say, a color and length you like)
and then let them choose the exact style. Trust us—even with different
necklines or sashes, they'll still look fantastic. Remember: You want each
and every one of your bridesmaids to feel beautiful (and comfortable!),
so your efforts in the dress department are well worth it. Yes, you want your bridal party to be your go-to pals when you need
something (even if it’s just to vent). But that doesn't mean you should
be cracking the whip nonstop. Whenever you're asking one of your friends
if she’d be willing to help you with something -- whether it's attending your
gown fitting or tying 100 miniature bows around 100 favor boxes -- stop
and think: Would I do this for her? It's a good reality check to keep your
requests reasonable.
Yes, you want your bridal party to be your go-to pals when you need
something (even if it’s just to vent). But that doesn't mean you should
be cracking the whip nonstop. Whenever you're asking one of your friends
if she’d be willing to help you with something -- whether it's attending your
gown fitting or tying 100 miniature bows around 100 favor boxes -- stop
and think: Would I do this for her? It's a good reality check to keep your
requests reasonable. They have to shell out for quite a bit over the course of the wedding: dresses,
hair, the shower, wedding gifts, the bachelorette party and travel expenses,
to name a few. These add up and can put a pinch on even the most financially
flush of bridesmaids. Take this into consideration and offer to help when you can.
For example, let them know they shouldn't feel pressured to give you an extravagant
shower present, or if you're having more than one shower, tell them you don't
expect multiple gifts.
They have to shell out for quite a bit over the course of the wedding: dresses,
hair, the shower, wedding gifts, the bachelorette party and travel expenses,
to name a few. These add up and can put a pinch on even the most financially
flush of bridesmaids. Take this into consideration and offer to help when you can.
For example, let them know they shouldn't feel pressured to give you an extravagant
shower present, or if you're having more than one shower, tell them you don't
expect multiple gifts. Try to come up with a game plan beforehand of who needs to do what
on the wedding day. Then make a second mental list of who else can
and has offered to help -- aunts, cousins, ushers and so on. When little
things do come up (which they will), you'll be able to rely on that latter
team to help you take care of details as needed rather than overextending
your bridesmaids.
Try to come up with a game plan beforehand of who needs to do what
on the wedding day. Then make a second mental list of who else can
and has offered to help -- aunts, cousins, ushers and so on. When little
things do come up (which they will), you'll be able to rely on that latter
team to help you take care of details as needed rather than overextending
your bridesmaids. Obvious, right? Sometimes when you're caught up in wedding related
drama, it can be hard to remember there's a world outside your wedding.
When you meet up with one of your bridesmaids, make a point to talk
about things not related to the wedding. Whether it's the project
she's working on at work or the blind date she went on last weekend,
she'll appreciate the opportunity to tell you all about it, the same way
she always has. Similarly, when you're really upset -- whether about
the wedding or anything else -- you'll know she'll be there for you, right
now and long after you’ve said, "I do.”
Obvious, right? Sometimes when you're caught up in wedding related
drama, it can be hard to remember there's a world outside your wedding.
When you meet up with one of your bridesmaids, make a point to talk
about things not related to the wedding. Whether it's the project
she's working on at work or the blind date she went on last weekend,
she'll appreciate the opportunity to tell you all about it, the same way
she always has. Similarly, when you're really upset -- whether about
the wedding or anything else -- you'll know she'll be there for you, right
now and long after you’ve said, "I do.”